First Launch
It's time to run Nantral Platform on your computer!
Set up the project
Open a terminal in the nantralPlatform directory (for convenience, you can
open this terminal inside of VS Code but it also works if you use your regular
terminal), and run:
make install
It creates a new virtual environment and installs all the dependencies for the
back end and the front end, and creates a new database for you with a
default admin user.
Help! The make command does not work with me! 😥
Well, sorry you're not lucky! But don't worry, here are all the steps you can do to install everything.
-
Go into the
backenddirectory:cd backend/ -
In the
backend/config/settingsdirectory, create a copy of the file.env.exampleand rename it.envonly. -
Install dependencies and create a virtuel environment for python:
pipenv install --devIf you get an error with the Python version, install pyenv.
-
Create your database for django:
pipenv run django migrate -
Create an administrator account on this database:
pipenv run django createsuperuserWhen asked, complete as follow:
- username:
admin - email:
admin@ec-nantes.fr - password:
admin
Note: if
adminalready exists, runpipenv run django changepassword adminto change the password of the admin account toadmin. - username:
-
Now, change your working directory to the
frontendone:cd ../frontend -
Install the dependencies:
npm install -
Then, change your working directory to
email-templates-generator:cd ../email-templates-generator -
Install the dependencies:
npm install -
And build the email templates:
npm run build
Congratulations, you did it all 🥳
When the installation is finished, refresh your IDE: for VScode, tap
Ctrl+Shift+P, search for "Reload Windows", and tap Enter.
Start the server
Now it's time to launch the website! To do this:
- Go into the frontend directory and launch the frontend server (react):
cd frontend/
npm run start - In another terminal, go into the backend directory and launch the backend server (django):
cd backend/
pipenv run start
- Local
- Github Codespaces
- Open this address in your browser: http://localhost:8000
-
The ports 8000 and 5173 are automatically forwarded by VScode. The port 8000 is automatically opened in a new tab.
-
Go back into the vscode tab of your browser. You need to change the visibility of the ports to public:
- open the Ports tab on the bottom bar of VS code
- right click on each port, and select Port visibility > Public
You can also run this command to change the visibility of both ports:
gh codespace ports visibility 5173:public 8000:public --codespace $CODESPACE_NAME -
Go back to the tab previously opened automatically.
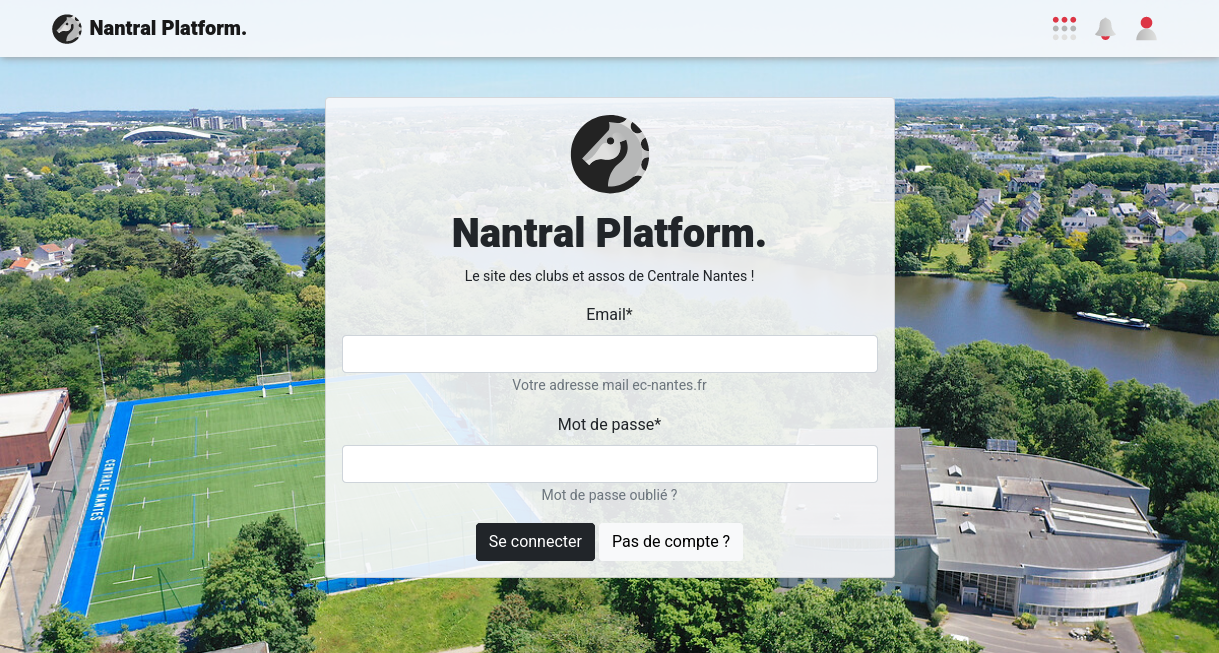
And that's it! You should now see the login page of Nantral Platform:
Create your admin account
Since we have created your own database, you do not have an account yet on this particular database. So let's create one!
-
On the login page, click the "No Account?" button, and fill in your info to create your personal account.
Note- Your password will be only stored on your computer: this is not really secure,
so do not use a password similar to your real online accounts!
You can instead use a dummy password like
passwordfor example. - The email will not really be checked, so you can use a dummy one too
(it must only finish with
ec-nantes.fr). This allows you to create multiple accounts, to test your code later 😉 - At the end of the process, the website will ask you to validate your account: just ignore it for the moment.
- Your password will be only stored on your computer: this is not really secure,
so do not use a password similar to your real online accounts!
You can instead use a dummy password like
-
Now, open the admin panel (http://localhost:8000/admin), and log in with the fake admin account created by default (username:
admin@ec-nantes.fr, password:admin)- Note: if the password does not work, you can reset the password:
cd backend
pipenv run django changepassword admin
- Note: if the password does not work, you can reset the password:
-
Once connected, open "Account > Users" (or "Account > Utilisateurs" in French)
-
Search for your personal account (the one you created a few minutes ago) and open it.
-
Scroll down to the Permissions section, and check the 3 checkboxes:
Active(Actif): this will validate your accountStaff status(Statut équipe): this allows you to connect to the admin panel with your personal accountSuperuser status(Statut super-utilisateur): this transforms your personal account into an admin account!
-
Save your modifications with the button at the bottom.
-
Log out from the admin interface.
-
Finally, go back to Nantral Platform (http://localhost:8000), and log in with your personal account!
-
Congratulations, you now have a personal admin account on your database 🥳